Cloud.typography User Guide
Moving to Production
Move your projects into production mode when you’re ready to deliver at scale.
Upshifting into Production
Before you go live, you’ll move your projects out of Development mode and into Production, to take advantage of the abundant pageviews included with your Cloud.typography subscription.
Cloud.typography guides you through the simple three-step process of moving into Production. You’ll download the fonts, move them into place on your server, and confirm that everything’s been installed correctly.
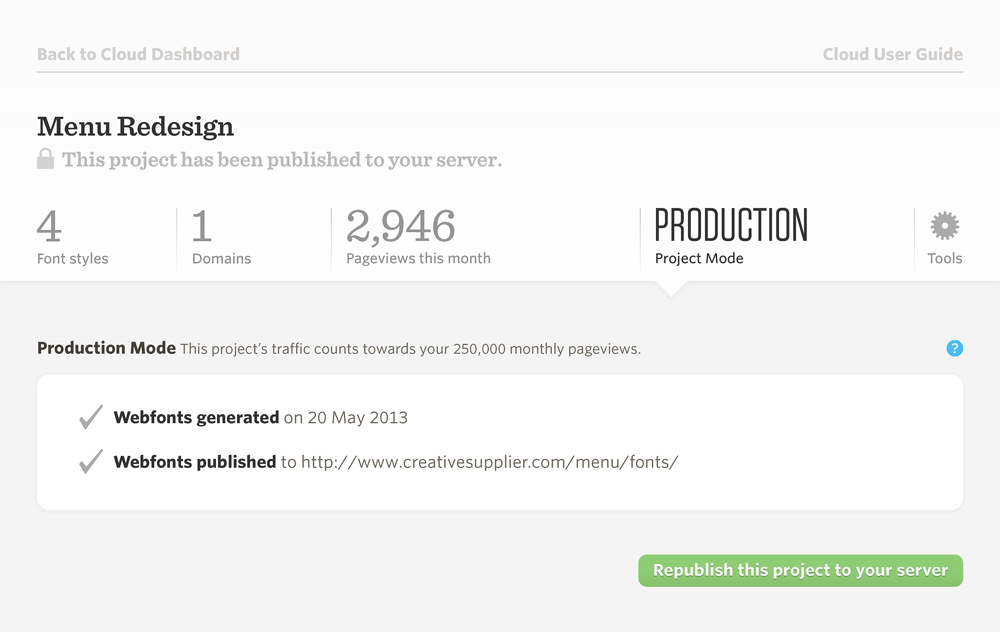
Start in the Project Mode panel,
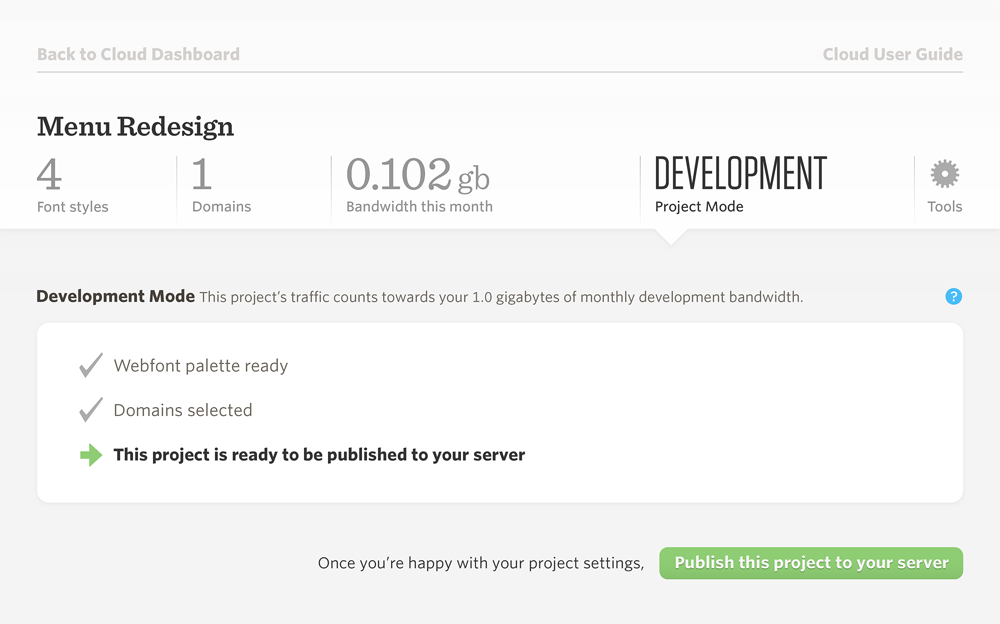
and begin the process by clicking Publish this project to your server.
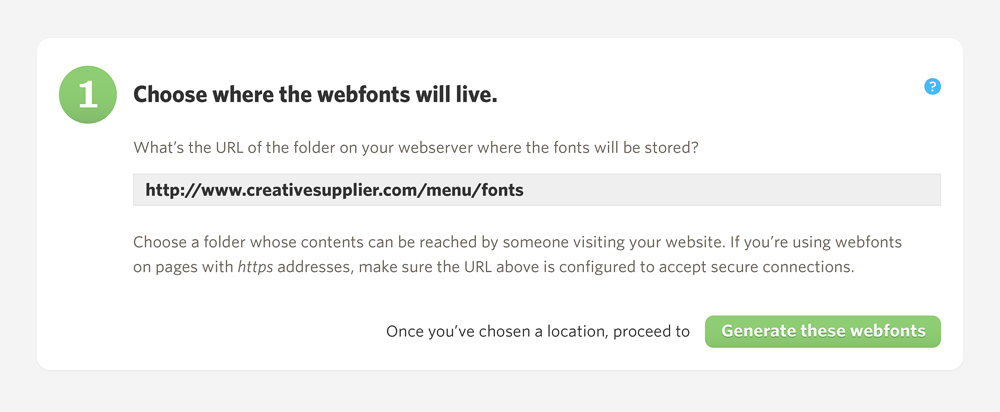
Step 1: Choose a location for the fonts. This is the folder on your web server where you’ll host the web font data folder. Pick a location that can be reached by someone visiting your website, and enter its URL here. If you’re using this project’s web fonts on secure pages, begin this URL with https, and make sure the location from which you’re serving the fonts is configured to accept secure connections.
Once you’ve decided where the fonts will go, click Generate these web fonts. Cloud.typography will take a moment to build a web font data folder for your project, customized for delivery from this URL.

Step 2: Download the web font archive. Click Download this Web font Archive, and you’ll receive a .zip file with the numerical name that’s shown on screen. Once you’ve downloaded the file, unpack it: inside is a folder with the same numerical name, containing a set of web font data files. (Don’t change the name of this folder, or any of the files inside: your delivery agent is being reconfigured to look for this folder and its contents by name on your server.)
Once you’ve downloaded the archive and unpacked its contents, you’re ready to move the web font data folder to your server.
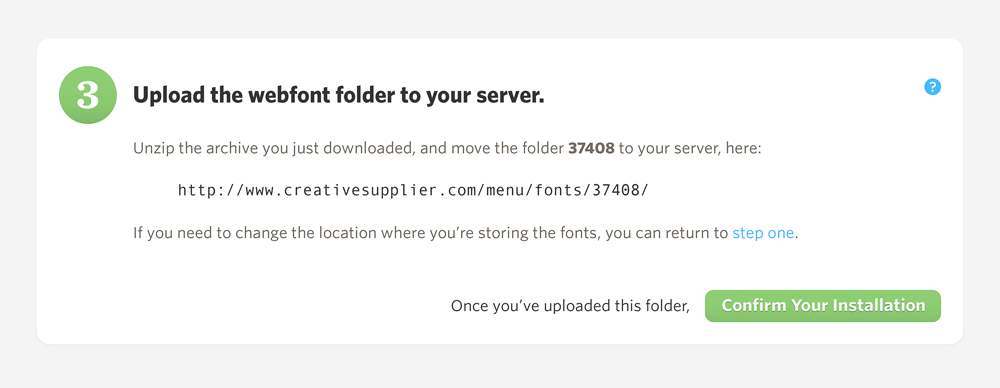
Step 3: Move the folder to your server. Using your FTP client, move the web font data folder to the location you chose in step one. (Make sure you’re uploading the folder itself, not the .zip file that contained it.) When you’ve finished moving the folder into place, click Confirm your installation. Cloud.typography will check to make sure your delivery agent can find everything, and will report any errors along with tips for resolving them. (Most problems are the result of an incorrect URL, or choosing a location that’s blocked from public view.)
Once everything’s confirmed, click Make this a Production Project to complete the process.

Using Production Projects
Moving from Development to Production is invisible to your site’s visitors, as browser-specific fonts continue to be delivered as before. As the project owner, you’ll see some subtle differences in the way Cloud.typography presents your Production project in the dashboard.
’Production’ now appears as the Project Mode:
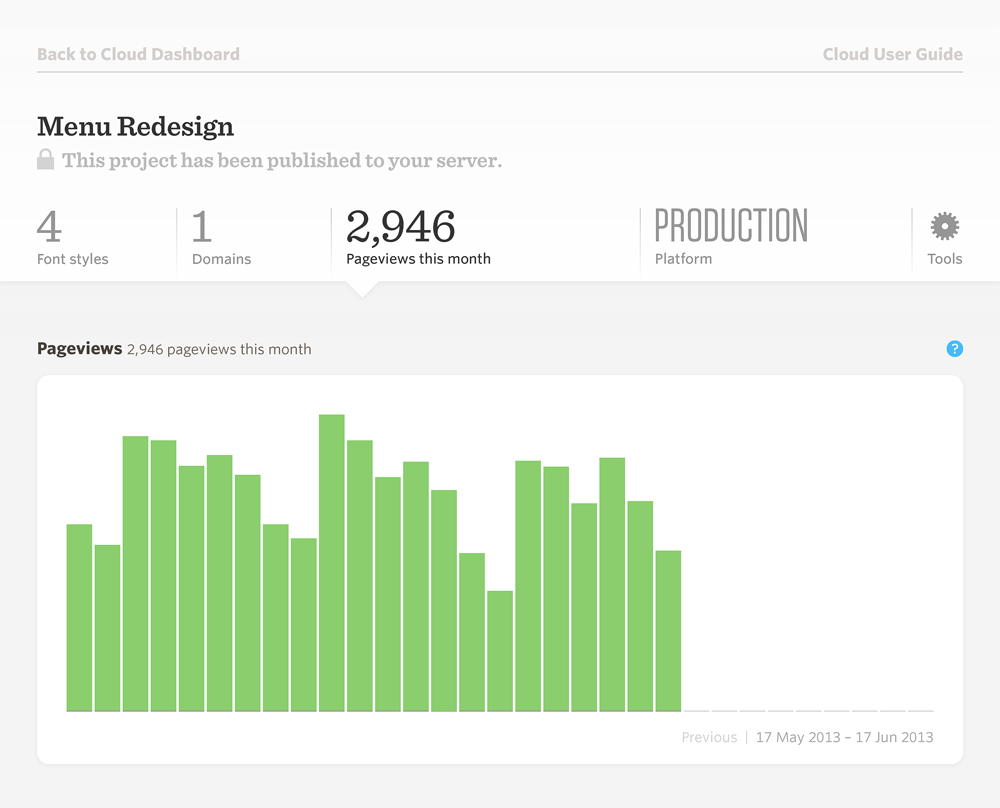
Now that you’re no longer using your subscription’s development bandwidth to test your site, the traffic tab instead shows you this project’s monthly pageviews. This graph is green, like the rest of the interface: Cloud.typography uses blue for Development projects, green for Production.
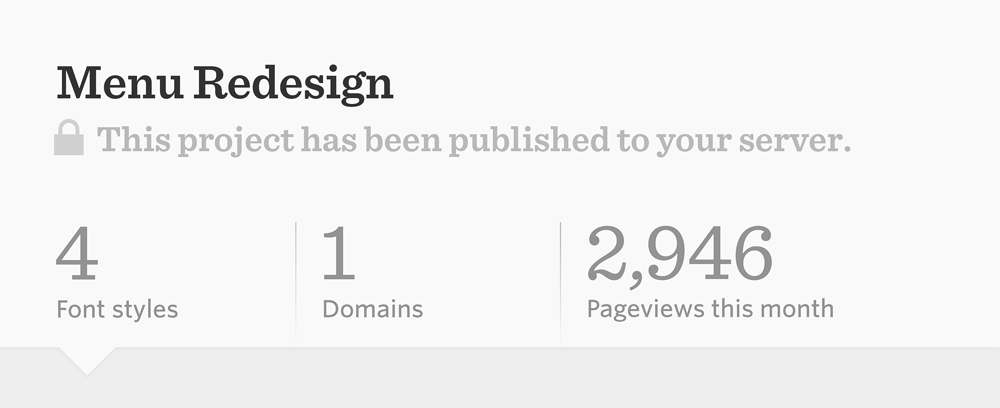
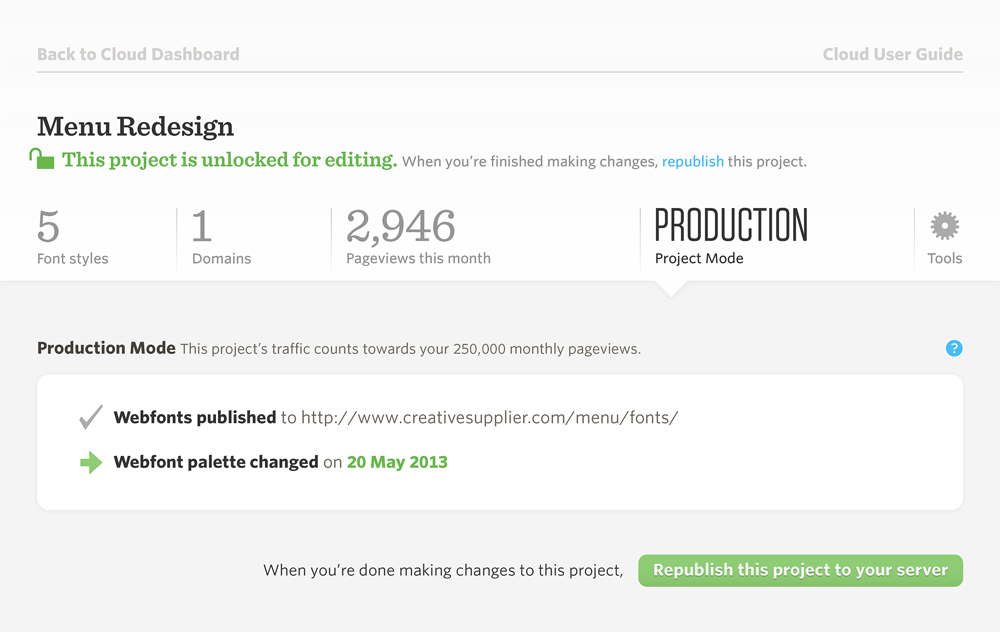
You’ll notice a lock under the project name, to remind you that it’s been published to your server:
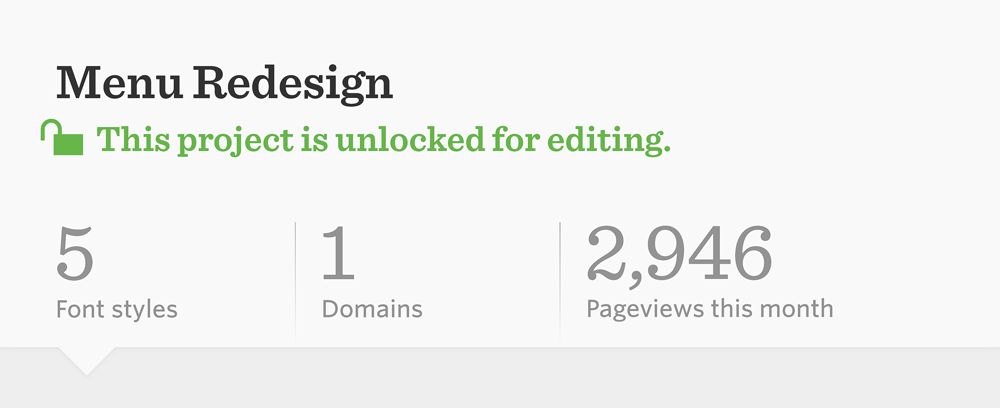
If you change your project’s font palette after moving it to your server, you’ll see it unlock, as a reminder to republish updated web fonts once you’ve finished making changes:
To update the web fonts on your server, return to the project mode panel and click Republish this project to your server to restart the publishing process. If you need to change the location from which you’re serving the fonts, you’ll be able to enter a new URL as you begin the process, just as before.
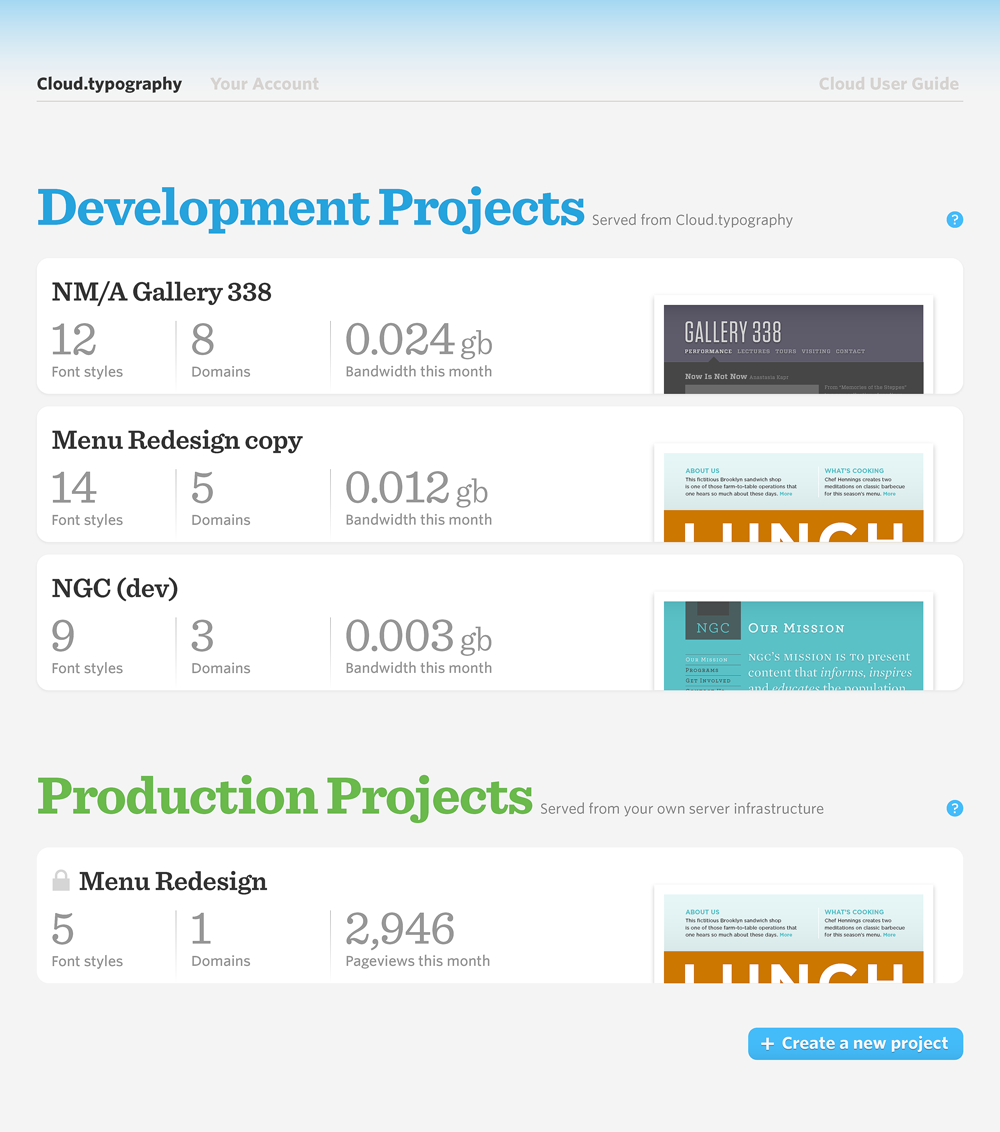
Finally, you’ll see all your projects’ vital statistics in the Cloud Dashboard, from which you can quickly navigate to any project’s fonts, domains, or traffic: